You don’t need to be an expert in plumbing jobs to replace an old or broken shower faucet. Actually, the steps to completing the project correctly are relatively simple.
Usually, when it comes to faucet problems, one of these components requires your attention. The process, though, depends on the plumbing and the essence of the problem. But there are various solutions for problematic fitting or valves.
Keep reading to figure out how to replace a shower faucet with your own hands.
Gather Tools and Materials
If you want to ensure the replacement process goes smoothly, get yourself the right tools and instruments for the purpose.
To save yourself time and frustration, make sure you have a 4-in-1 screwdriver, an adjustable wrench, a corded drill, a drywall saw, a jigsaw, a pipe wrench, some safety glasses, a screwdriver, a soldering torch, a tape measure, and a tube cutter.
Having the tools and materials ready when you need them will help you organise the entire process and give you more confidence to do the job all by yourself.
You’ll also need copper fittings, a new faucet, pipe joint tape, cleaning rags, a plastic access panel, and some soldering supplies.
Turn off Water Supply
It’s good advice to prepare your working area adequately to avoid unwanted mess.
For example, use a towel over the drain to prevent small parts from falling down. And use another towel where to leave all your tools so they’re easily accessible.
The next important step is to turn off the entire house’s water supply. Once you do that, check if you’ve succeeded by opening a faucet. Water may still come out of the pipes, but you only need to wait a few seconds until they’re completely drained.
Remove the Old Shower Faucet
Depending on your shower faucet’s make, model, and style, there are different ways to remove it.
Some types have removable covers over the faucet handles, which can be easily removed with a simple screwdriver. Others, though, have a set screw underneath the handle for which you’ll need an Allen wrench to be removed.
Once you’ve loosened it, you can proceed to remove the handle and get access to the following parts. Continue until you reach the shower valve – the plumbing pipe stays gently out of the wall.
Prepare the New Faucet
Now it’s time to prepare the new faucet, but before you begin the installation step, ensure it is suitable for your bathroom setup. It’s advisable to read the specific instructions that come with your new shower faucet.
Don’t forget that if you’re using both the showerhead and the bathtub, your new faucet needs to have two inlets – for cold and hot water. Also, it needs to have two outlets – for the bathtub spout and for the showerhead.
Remember that the valve must be the right distance from the wall and installed on a bracket that extends between the studs. When preparing adequate depth for the stringer, keep in mind the depth of the valve and the thickness of the wall and tiles.
So, to avoid making mistakes, read the installation instructions to ensure you get the correct dimensions for the plumbing and valve.
Install the New Shower Faucet
Shower faucets are usually attached to the wall at both water pipes. The hot and cold-water pipes are usually 16 cm apart. If necessary, you can adjust this distance using the S-shaped pipe fittings.
Screw the S-shaped pipe fittings into the threaded ends of the water pipes and place the decorative caps on top. Using the coupling nuts and gaskets, you can then mount the shower faucet to the S-shaped pipe fittings.
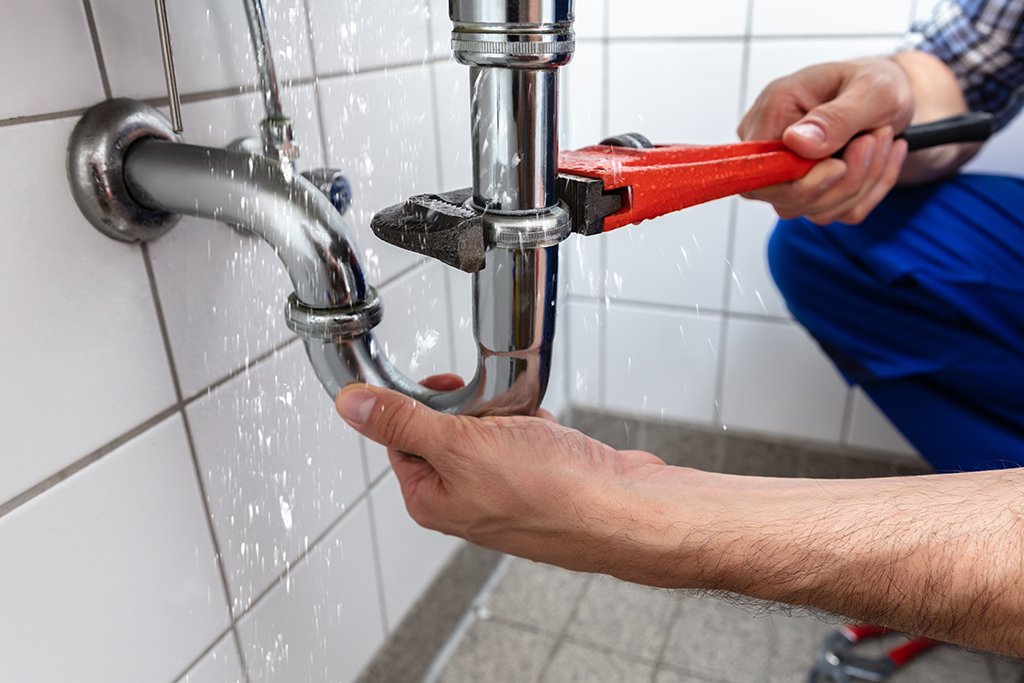
Be sure to wrap the screw threads with some Teflon tape (in the same direction as the nut when you tighten it). Tighten the faucet mounting nuts securely with a wrench. Place a piece of cloth over the chrome part of the nuts to avoid damaging them.
Do not twist the Teflon joints because they will leak.
Test the New Faucet
After all your hard work, it’s time for the moment of truth – testing the new faucet. Open the main water stopcock to check for leaks and test if your new shower faucet functions properly.
Let it work for a short period of time before shutting it off. If you notice any leaks, you can try tightening the required part. Test it again to ensure the water flows properly from the shower head and the bathtub faucet.
Additional Tips and Troubleshooting
Over time, it is normal to experience issues with your shower faucet. But did you know that the showerhead often becomes a breeding area for various types of bacteria?
That’s why it is very important to maintain your shower installation properly and regularly and keep it clean and functioning.
If you’re wondering if there is a certain time when it’s recommended to change your shower faucet, several signs show you it’s time for an upgrade.
For example, mineral buildup. Depending on the area you live in, hard water can leave a residue that can cause damage to the functionality and look of your shower fixtures.
Over time, mineral buildup accumulates in the showerhead and the valves, which is a sure sign you’ll have to install new ones. If you ignore it, there’s a good chance that the mineral buildup will affect the water flow and cause problems while using the shower.
The time you need to replace your new shower faucet will be between two and four hours if you don’t have any problems during the job.
Having some plumbing knowledge and skills is crucial to do the job correctly. That’s why many people seek the help of a qualified plumber for shower faucet replacement. It’s safer, and you won’t waste your precious time dealing with dirty work.
Conclusion
While the steps to replacing a shower faucet seem relatively simple, many people find difficulties and don’t have the needed tools or skills to perform the job correctly.
You don’t have to buy tools you’ll probably not need anymore. It’s better to give the money to a professional plumber who not only has the needed tools but, more importantly, has the needed experience.
You don’t want to cause more serious plumbing problems while trying to perform a relatively simple task yourself.







Leave a Reply